Mini Razz Crush Tarts
(Family Features)Fruits, like raspberries, are unique in their ability to add both flavor and nutrition to breakfasts, snacks, desserts and beyond.
With a sweet-tart flavor and eye-catching color, red raspberries are the main ingredient in these Mini Razz Crush Tarts, perfect for breakfast on-the-go or as an afternoon snack. Because 1 cup of the tasty fruit includes just 80 calories and contains 6 grams of fiber while providing 28% of the recommended daily allowance of vitamin C, it’s a nutritious way to fill up.
Find more recipes at redrazz.org.
Watch video to see how to make this recipe!

Mini Razz Crush Tarts
Servings: 8
Red Raspberry Crush:
- 1 bag (12 ounces) frozen red raspberries
Tarts:
- 1 1/2 cups Red Raspberry Crush
- 1 1/2 tablespoons cornstarch
- 1 package (two 9-inch crusts) refrigerated pie crust
Glaze:
- 1 cup powdered sugar
- 2-3 tablespoons reserved raspberry juice
- 1/2 teaspoon vanilla
- sprinkles (optional)
- To make Red Raspberry Crush: Thaw raspberries on countertop at room temperature 30 minutes.
- Using rolling pin, gently mash raspberries in sealed bag.
- To make tarts: Heat oven to 425° F. Line baking sheet with parchment paper and set aside.
- Place strainer over medium bowl; strain Red Raspberry Crush 10-15 minutes, allowing raspberry juice to fall into bowl. Reserve raspberry juice for glaze.
- In medium bowl, combine drained Red Raspberry Crush and cornstarch; mix to combine.
- Roll out both pie crusts into rectangular shapes and cut each into eight 2 1/2-by-4-inch rectangular pieces. Place rectangular pieces on prepared baking sheet. Add 1-2 tablespoons Red Raspberry Crush to center of each piece and top each with second rectangular piece. Use fork to crimp edges of dough.
- Bake 10 minutes, or until crust is golden brown. Remove pastries from oven and allow to cool completely.
- To make glaze: In medium bowl, whisk powdered sugar, reserved raspberry juice and vanilla.
- Drizzle glaze on cooled pastries and garnish with sprinkles, if desired.
Source: Red Razz
7 One-Pot Recipes for Back-to-School Season
(Family Features) School is back in session, and so are hectic weeknights with little time to cook dinner. Instead of reaching for ready-made meals or takeout, serve up tasty one-pot dinners made with wholesome ingredients like spaghetti squash and quinoa. These seven kid-friendly recipes bring everything together in a single baking dish or skillet, so there's less prep and clean up, and more time for reconnecting around the dinner table.

-
Spaghetti Squash Shrimp Lo Mein
Load up on veggies with this weeknight version of an Asian takeout favorite. Carrots, bell pepper and shrimp are flavored with soy sauce, ginger and garlic. Try a microwave shortcut to cook the spaghetti squash and have it on the table in no time.
-
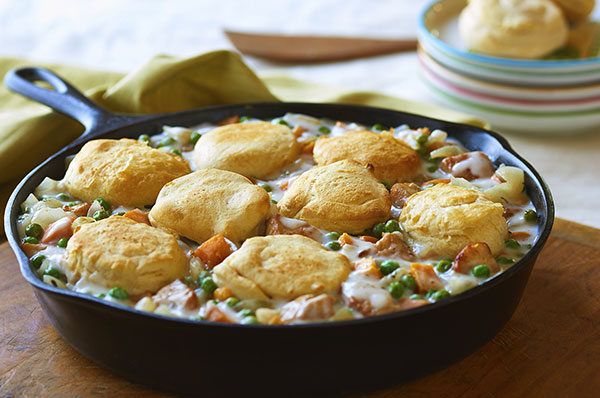
Fall Skillet Pot Pie
Rotisserie or leftover chicken, refrigerated biscuits and an oven-proof skillet make this comfort food favorite a weeknight reality. Add sweet potatoes, peas and flavor with thyme, cinnamon and garlic powder.
-
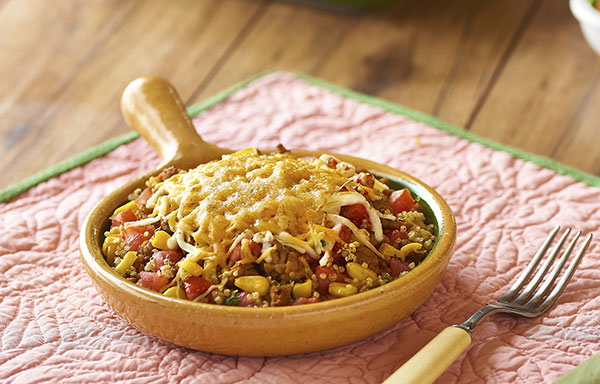
Quinoa Taco Skillet
McCormick Organics Taco Seasoning Mix adds kid-friendly flavor to this skillet dinner made with quinoa, ground turkey, fresh tomatoes and corn.

-
Creamy Tomato Italian Parmesan Chicken
Tender chicken simmered in a creamy red sauce, fresh parmesan and freshly ground Italian herbs make for a perfect weeknight dish. Whether you serve with pasta, atop Italian bread or let the chicken be the star, this dish is a guaranteed crowd-pleaser.

-
Chicken Noodle Casserole
Everyone's favorite soup gets a casserole treatment. Simply combine pasta, chicken, vegetables and gooey cheese with the flavors of pepper, garlic and Italian seasoning for a comforting weeknight meal, perfect for leftovers.
-
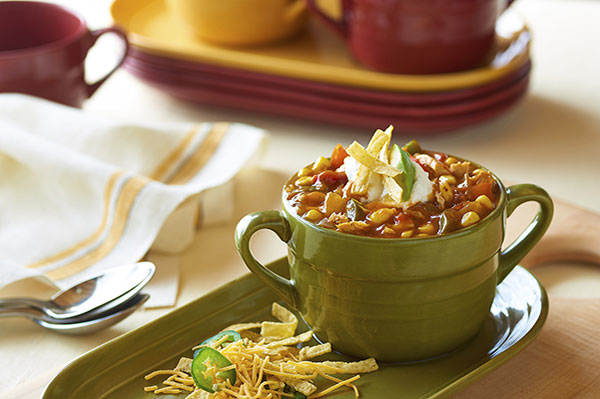
Chicken Fajita Soup
Warm up with a one-pot wonder that gets a Tex-Mex twist from McCormick Organics Fajita Seasoning Mix. Let the family customize with toppings like avocado, cheese, sour cream and tortilla strips.
-
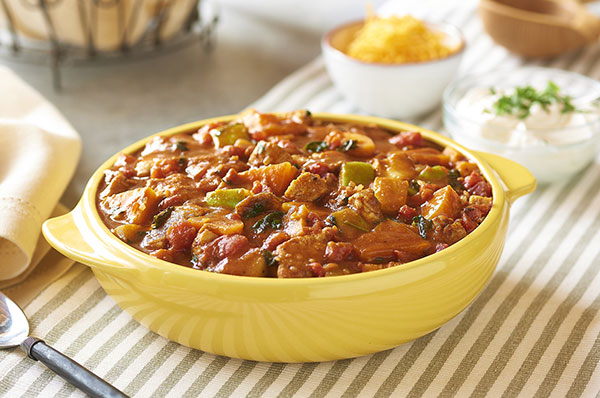
Chicken Chili with Apple and Sweet Potato
Say goodbye to beans and whip up a new fall chili the whole family will love. Kitchen Basics Organic Chicken Stock gives the quick dish a rich, cooked-all-day flavor.
Find more tips and recipe inspiration for back-to-school season at McCormick.com and be sure to check out Pinterest and Facebook.
Source: McCormick Spice
Holiday Fun for the Whole Family
(Family Features) Celebrating the holidays with family meals and activities is what the season is all about, and when those moments and at-home projects are kid-friendly, you can get the whole gang involved.
A simple weeknight at home during the holiday season can turn into family fun time starting with a recipe like these Reindeer Hot Dogs, a dish that requires little prep time and allows for help from little ones. Made with Gwaltney Hot Dogs, a tasty, kid-friendly dinner solution requires just a handful of easy-to-find ingredients.
Once everyone is finished eating and all have pitched in to help with cleanup, turn your attention to a family activity that transforms everyday supplies into this Wooden Snowman Ornament for seasonal decor to hang on a tree or elsewhere in the house.
Find more kid-friendly recipes to involve the whole family at gwaltneyfoods.com.
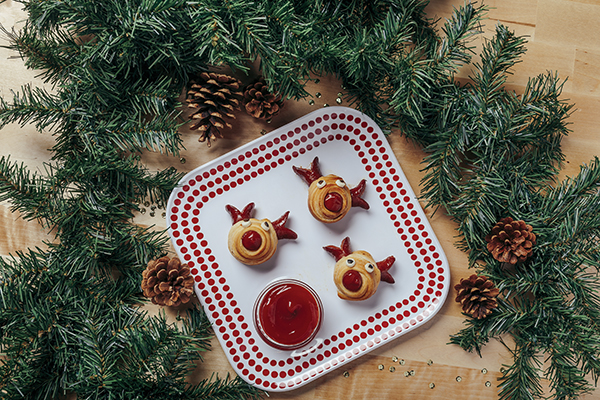
Reindeer Hot Dogs
Prep time: 20 minutes
Servings: 10
- 1 can refrigerated crescent rolls
- 1 package Gwaltney Hot Dogs
- 1 slice white cheese
- black olives
- ketchup
- Heat oven according to crescent roll package directions.
- Cut hot dogs into three equal sections.
- Lay out crescent rolls and wrap around middle sections of hot dog pieces.
- Cut triangles out of end sections to look like antlers.
- Cut two slits at top of dough; press end hot dog pieces into slits.
- Bake according to crescent roll package directions. Cut out small circles from sliced cheese for reindeer eyes. Cover cheese pieces with small slices of black olives for pupils. Add ketchup to hot dogs for red noses.
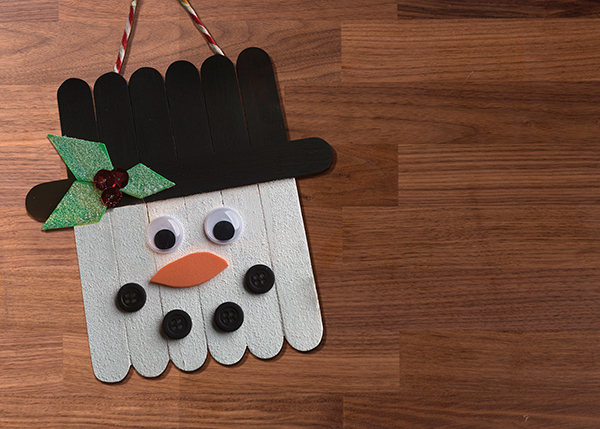
Wooden Snowman Ornament
Craft courtesy of Gwaltney
- 7ice pop sticks
- Hot glue gun
- Foam paintbrush
- Black paint
- Glitter
- White paint
- Googly eyes
- Colored craft foam
- Sequins
- Buttons
- String
- Line up six ice pop sticks next to each other vertically.
- Place line of hot glue horizontally across sticks, about one-third of the way down, and adhere seventh stick to create brim of snowman’s hat.
- Using black paint, brush top third (brim to top of hat) and let dry.
- Mix glitter into white paint and brush lower two-thirds of sticks, creating snowman’s face.
- Use googly eyes, colored craft foam, sequins and buttons to create details of face and hat, such as mouth, nose and hat decor.
- Glue piece of string to backside to hang ornament.
Source: Gwaltney


